
We’ve been wanting to make these NEW shaped crayons for a while now. There are tons of broken crayons all over the house. We collected them all and set them ready to melt and make new shapes. This tutorial is very easy but requires a help of an adult. You’ll see why in a little while..

Materials:
1. Crayons
2. Silicone baking mold (We didn’t have any at home so we used skull ice cube trays)
3. A cookie sheet
Instructions:
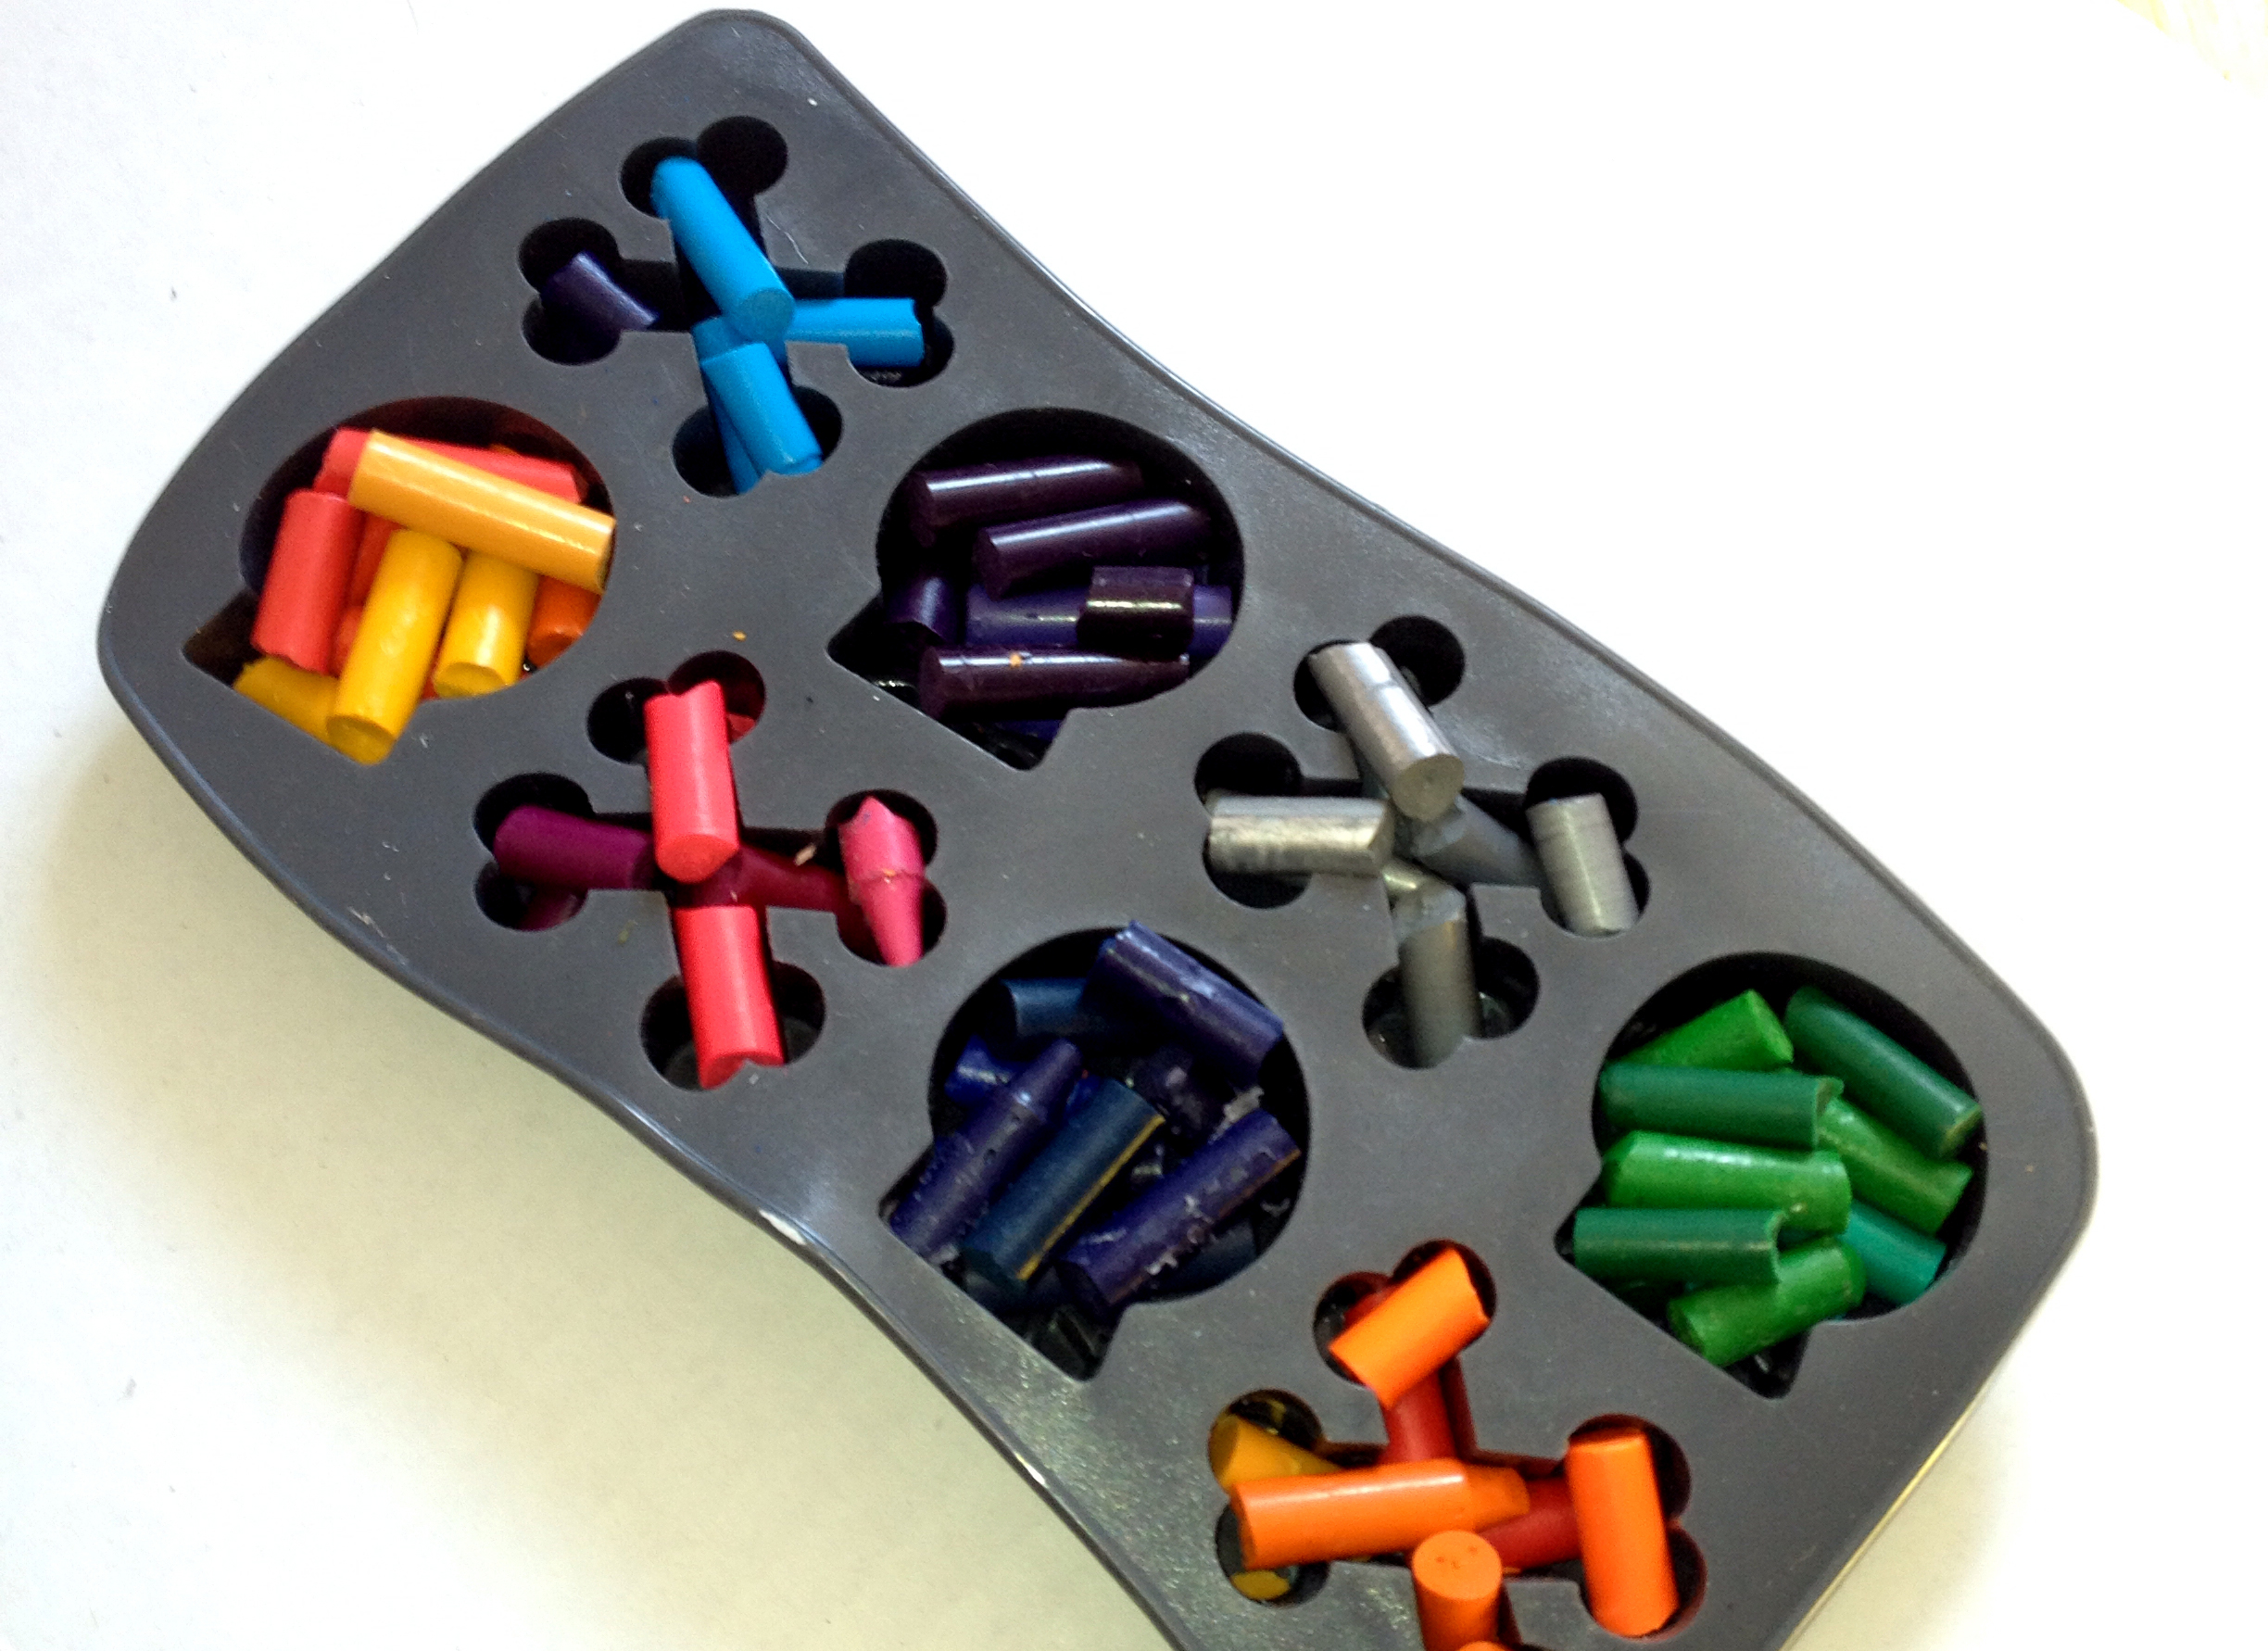
1. If you don’t have any broken crayons, break them and peel off paper. If its a whole crayon break it in 4 pieces. (note: we used crayola crayons. only one crayon was a different brand and took a long time to melt)
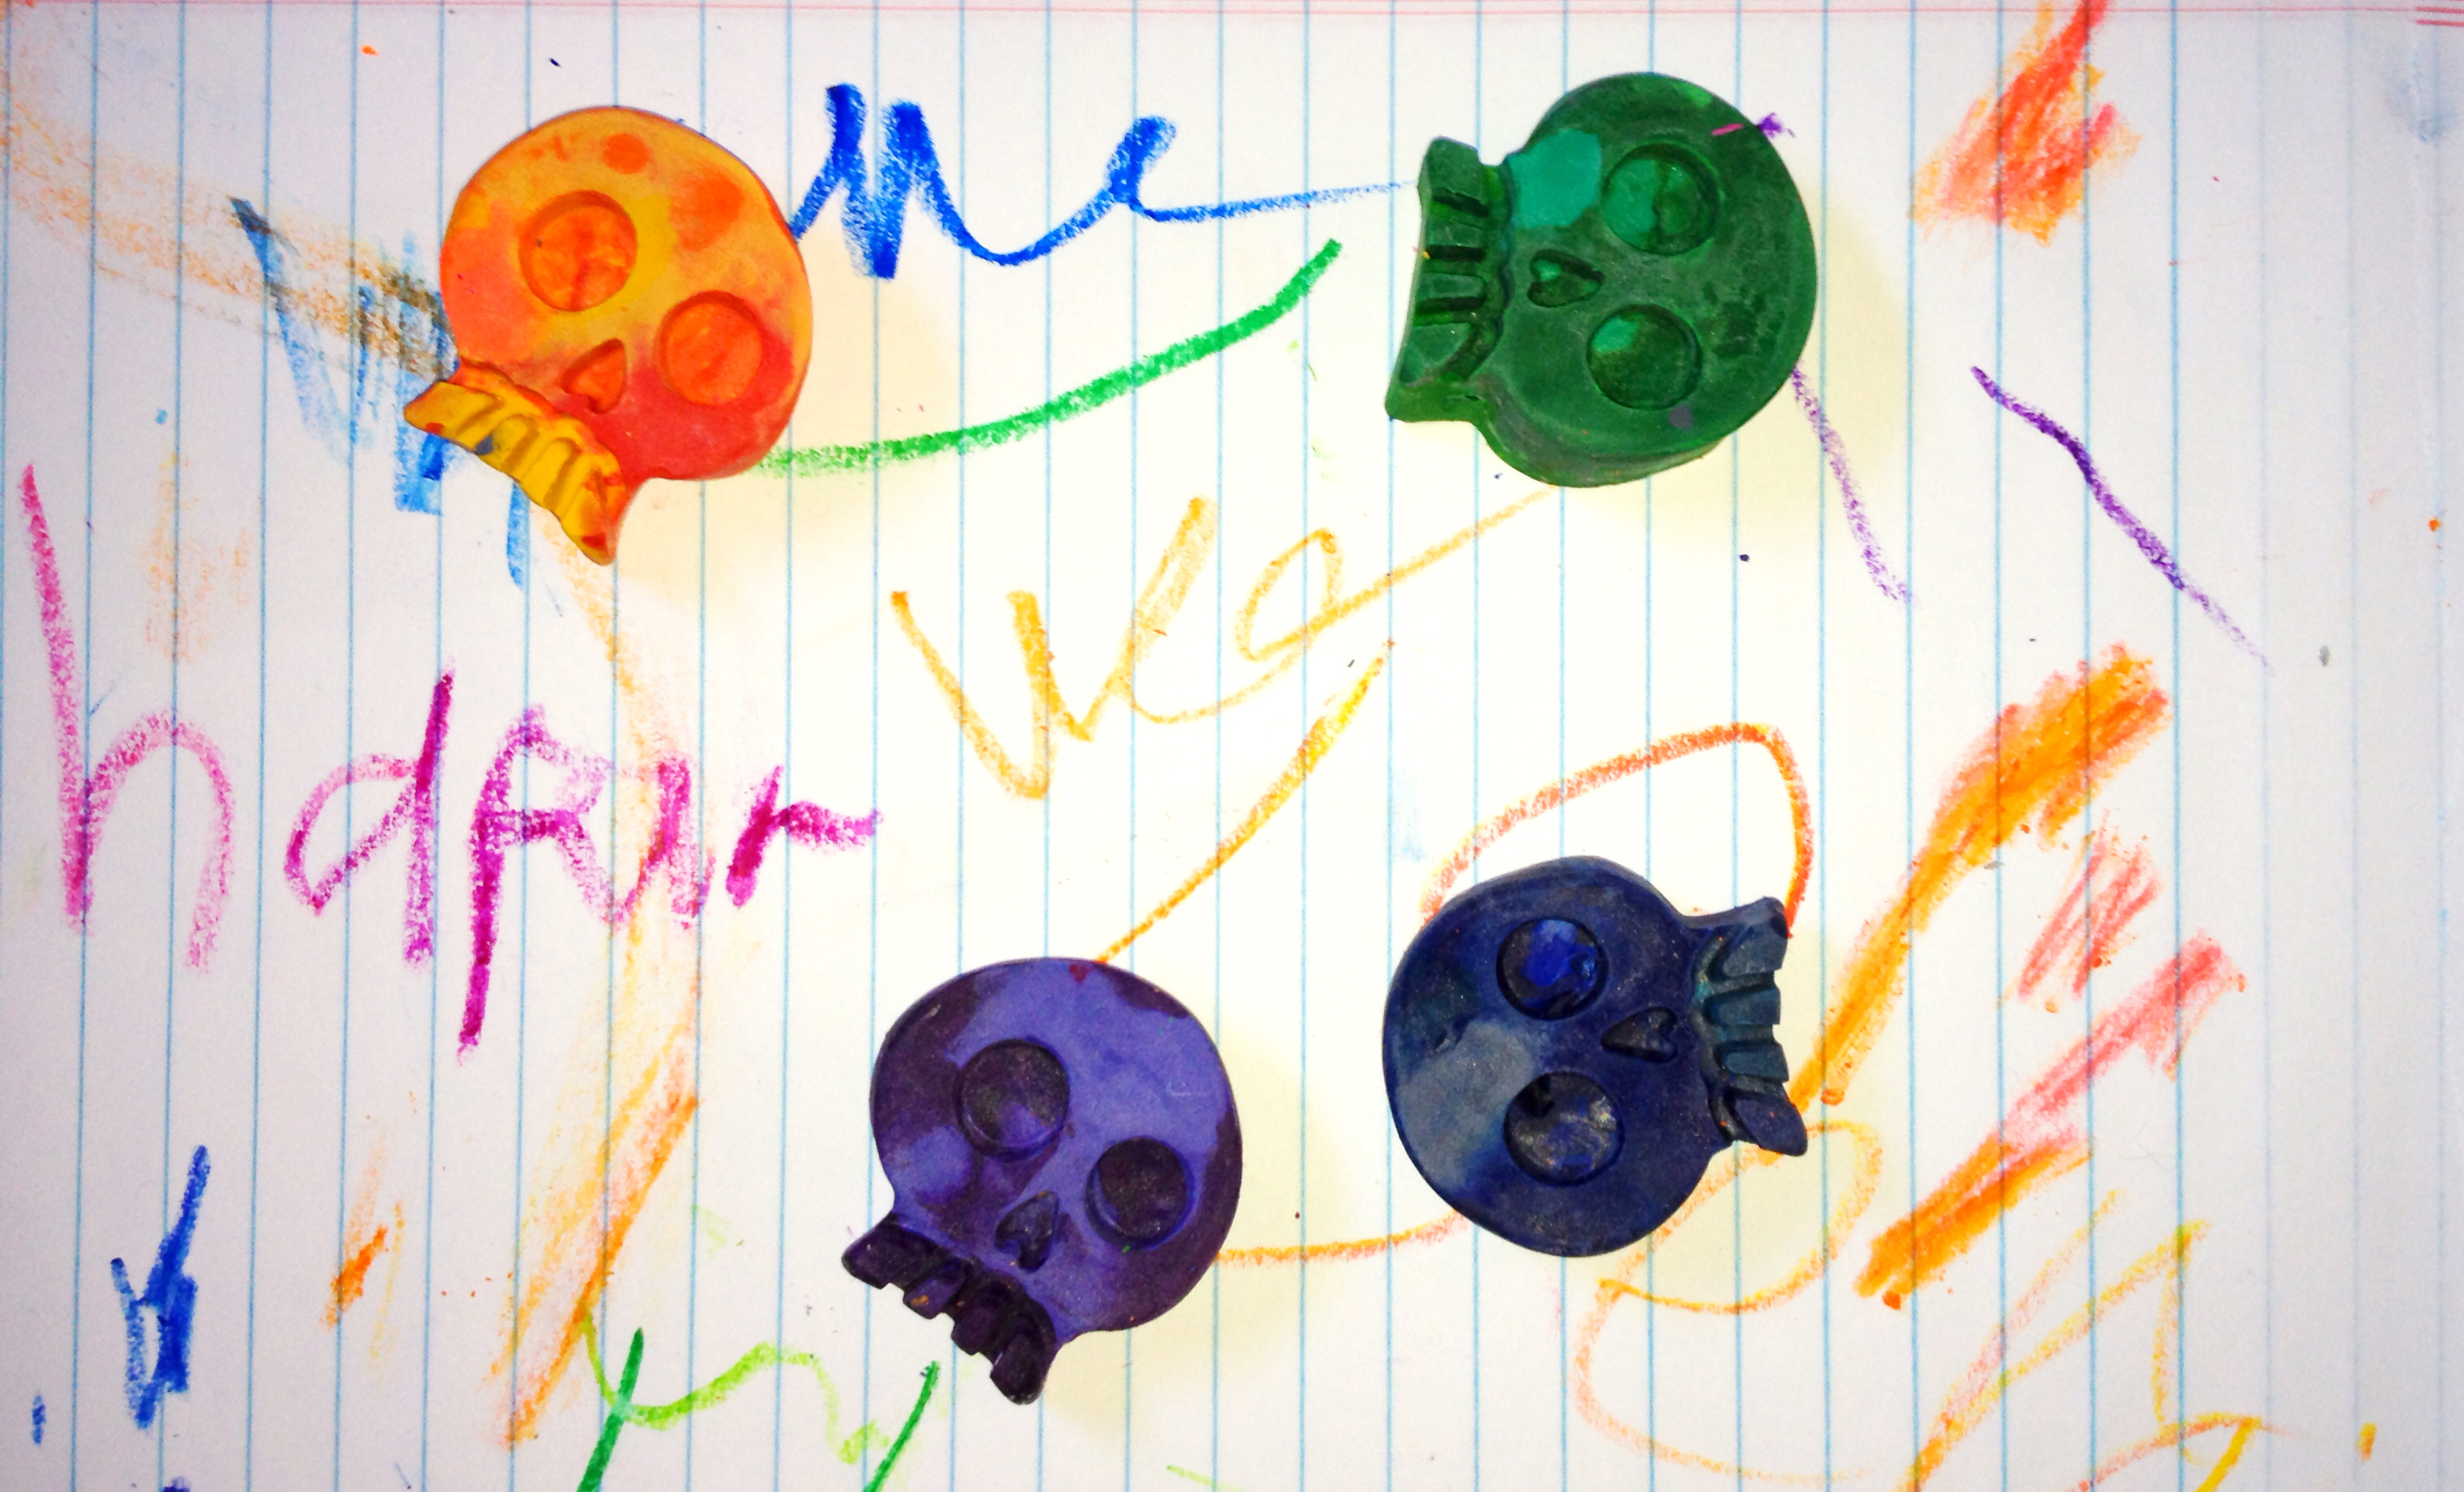
2. Place broken crayons in the mold. We used about 2 crayons per mold and mixed different shades of each color to make swirled colors. they are more fun.(note: if you are using ice cube tray make sure it doesn’t melt, keep checking on it)
3. Preheat the oven to 200 F (note: adult supervision required)
4. Place silicone mold on a cookie sheet (note: it’s better to put aluminum foil on the cookie sheet, so that you don’t ruin it, in case something spills)
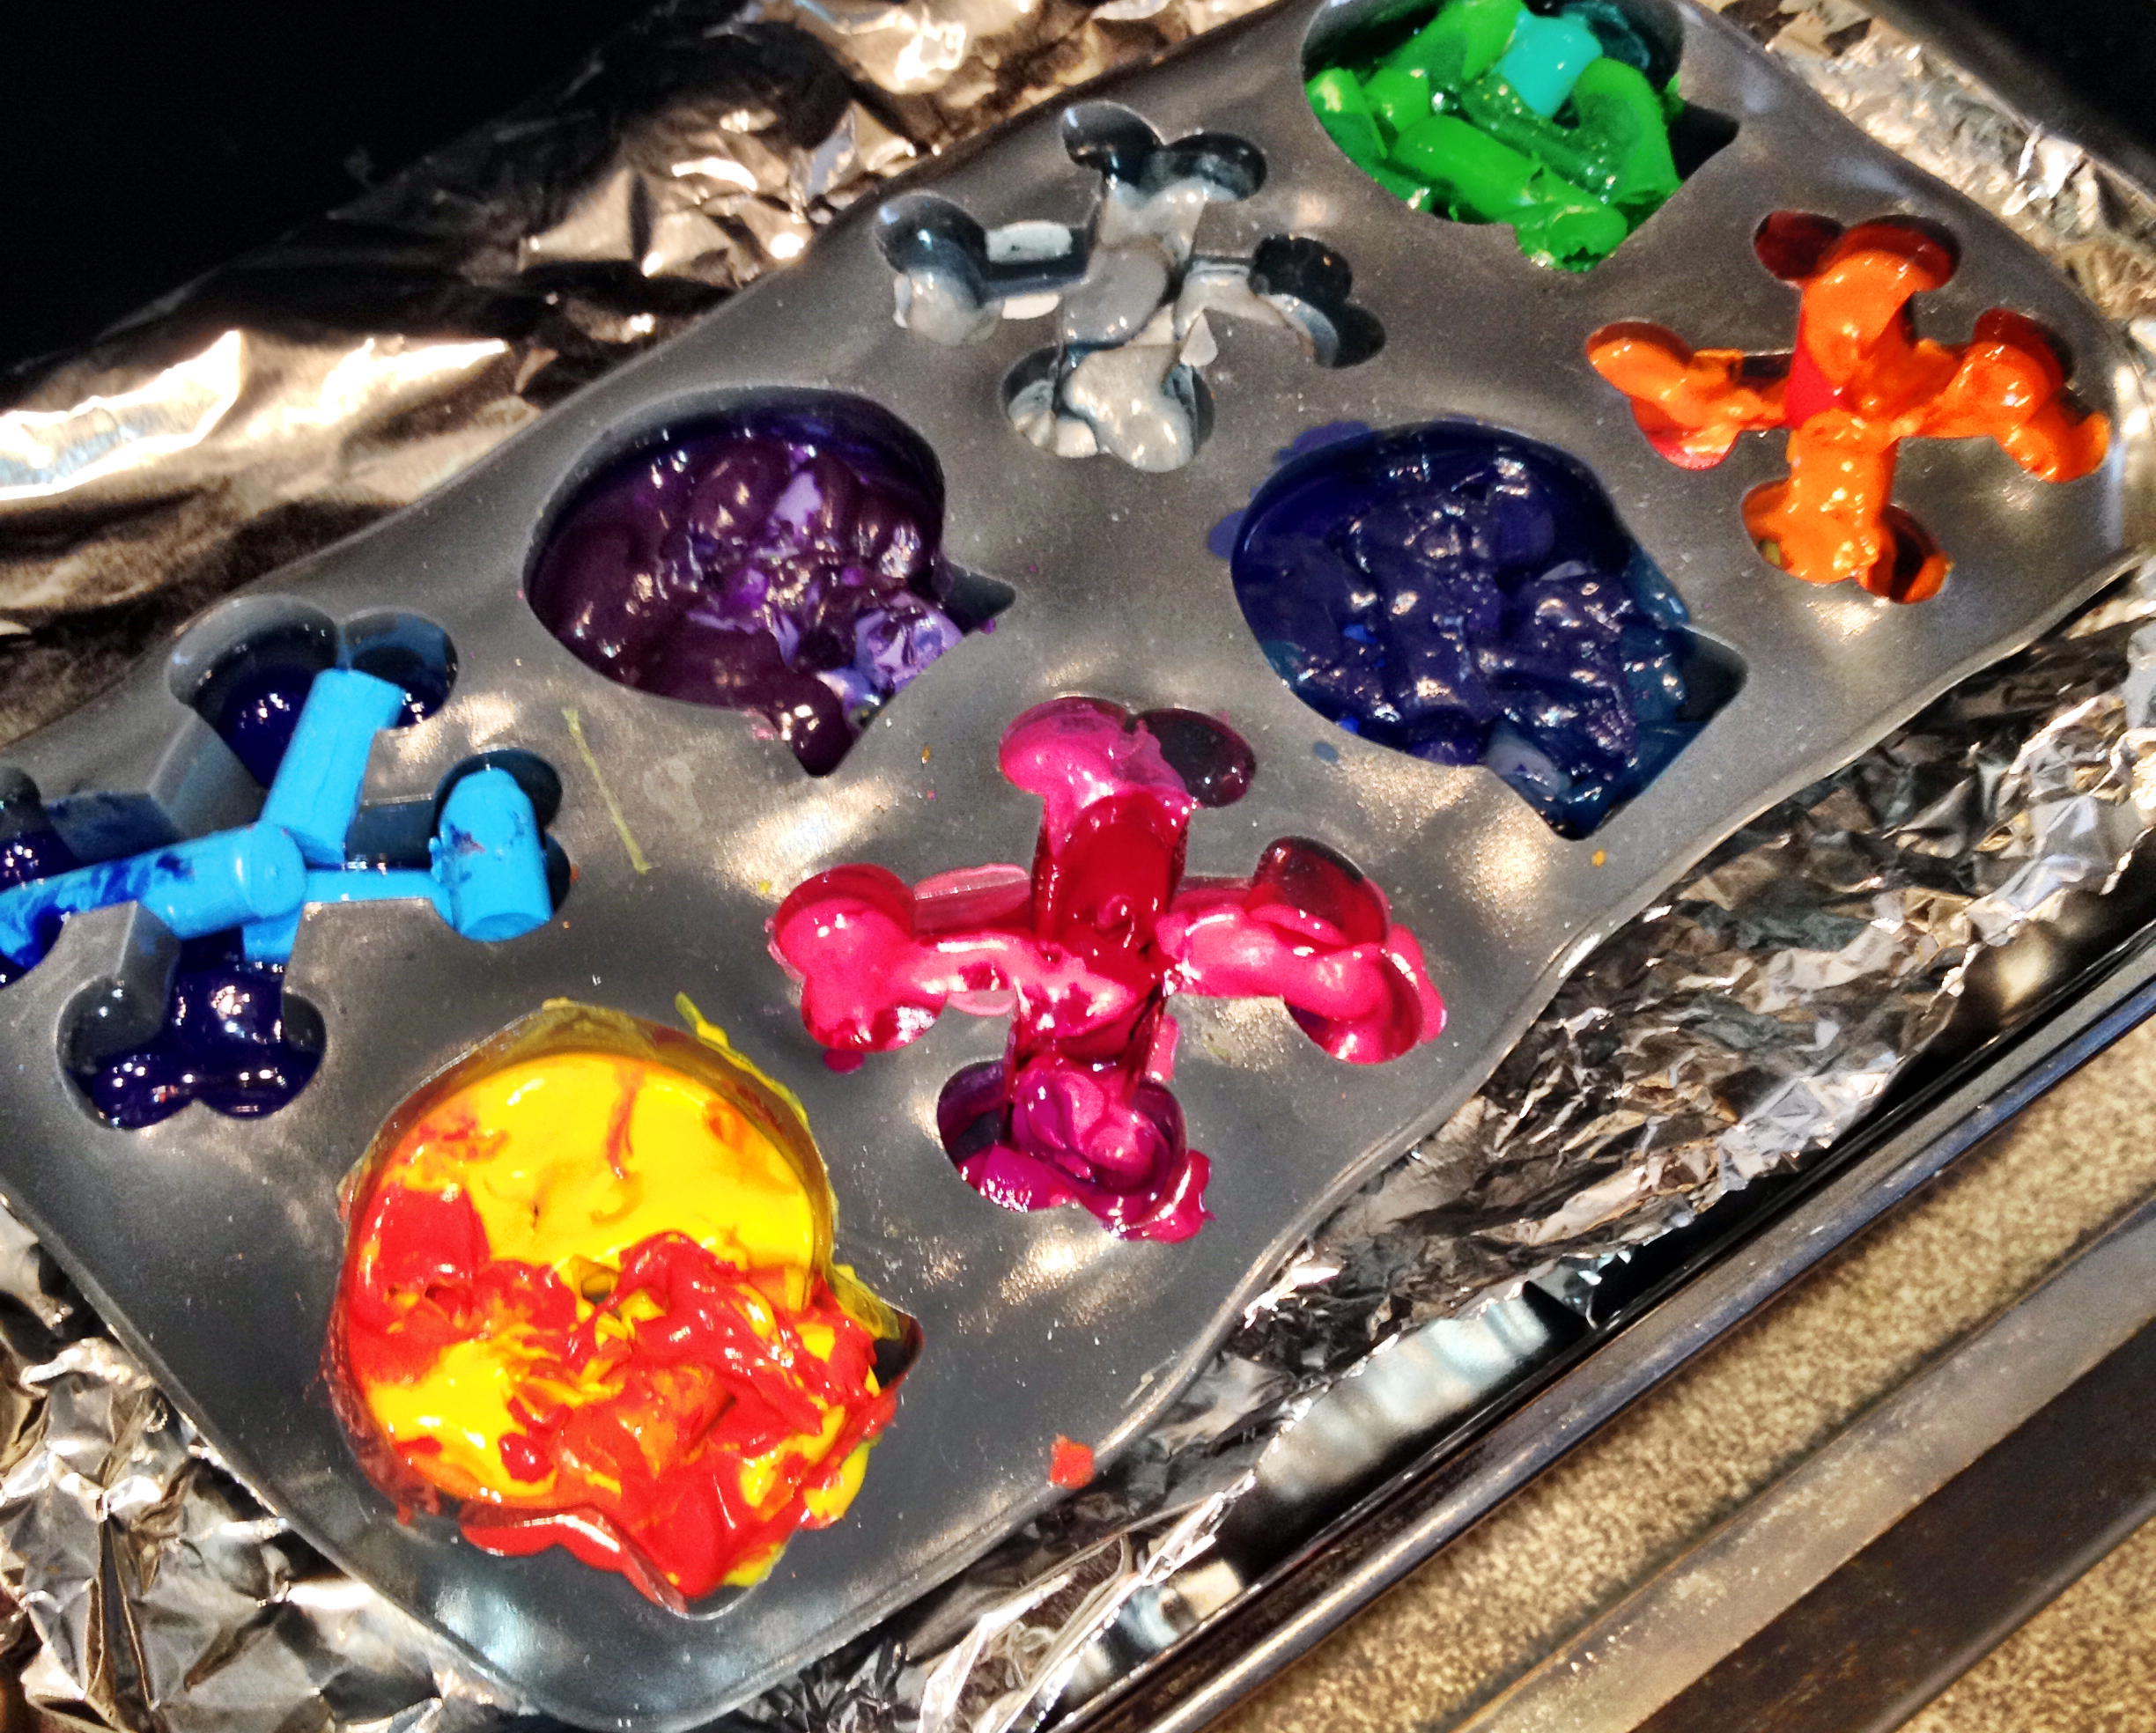
5. Bake until crayons are melted. It took about 15 minutes for ours to melt. Larger pieces of crayon will take longer to melt.
6. When crayons melt, take out the cookie sheet and let it cool off. It took ours about 20-30 mins. (note: adult supervision required)
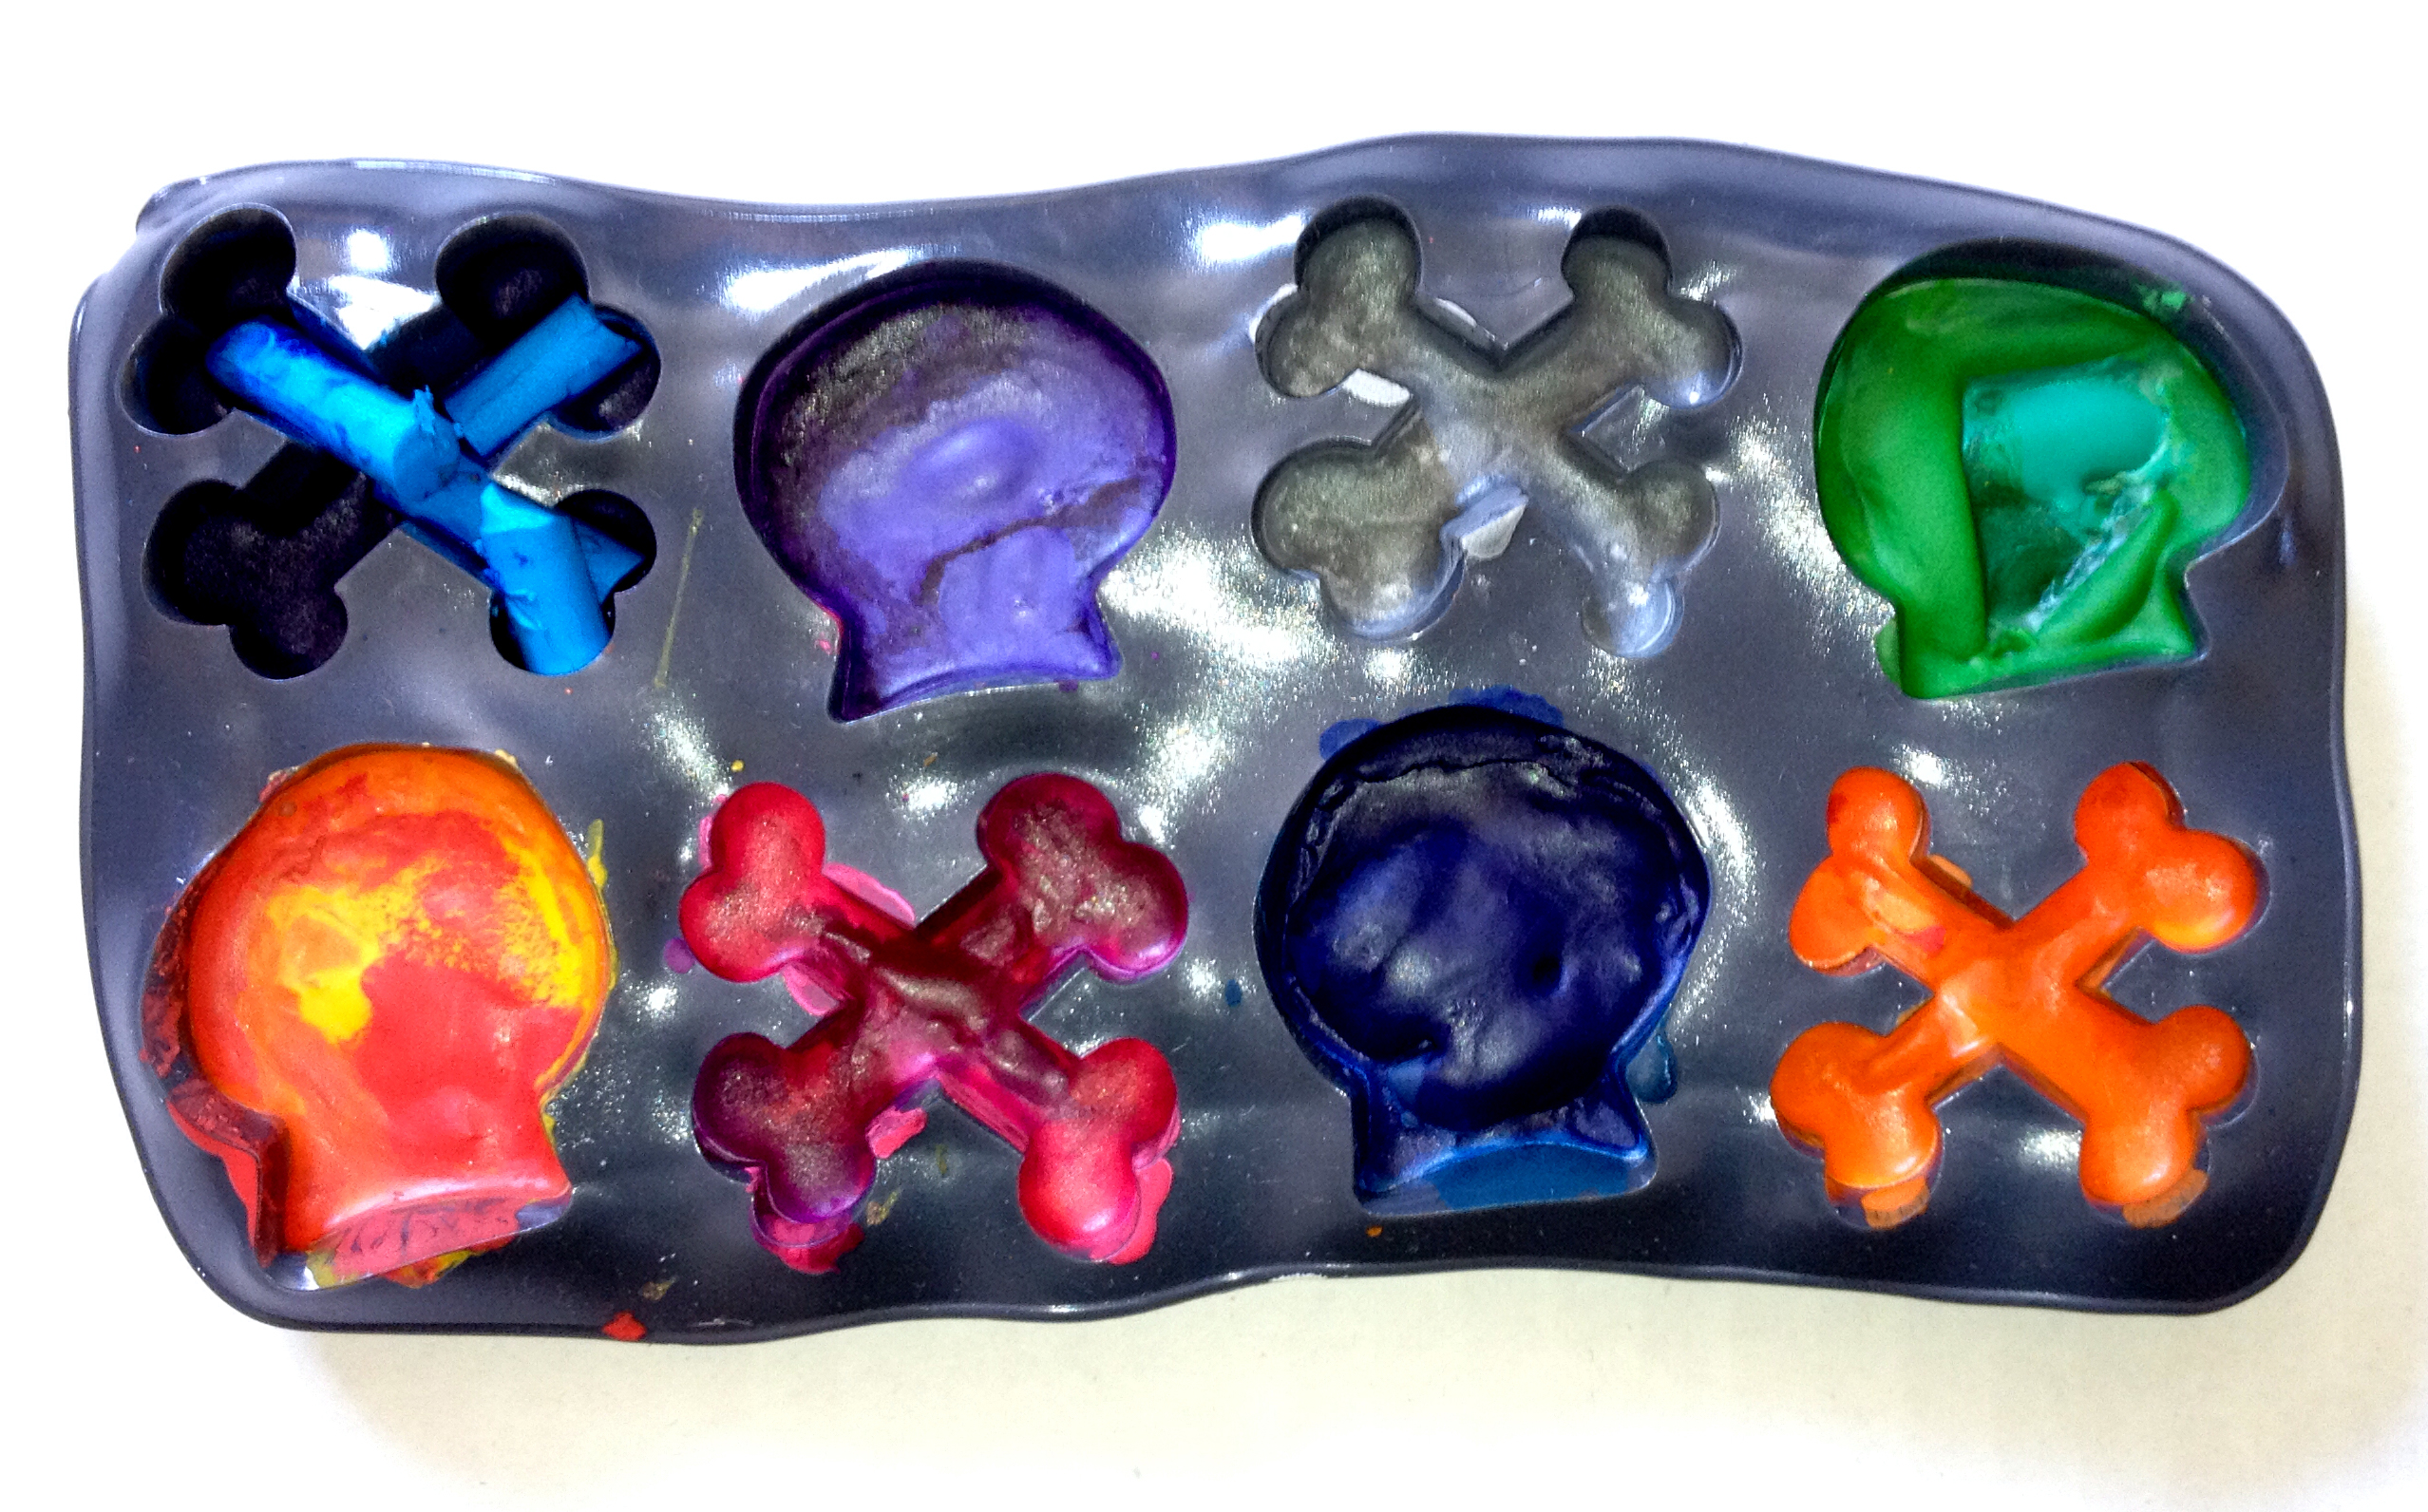
7. Carefully take newly made crayons out of the mold, so that you don’t brake them.
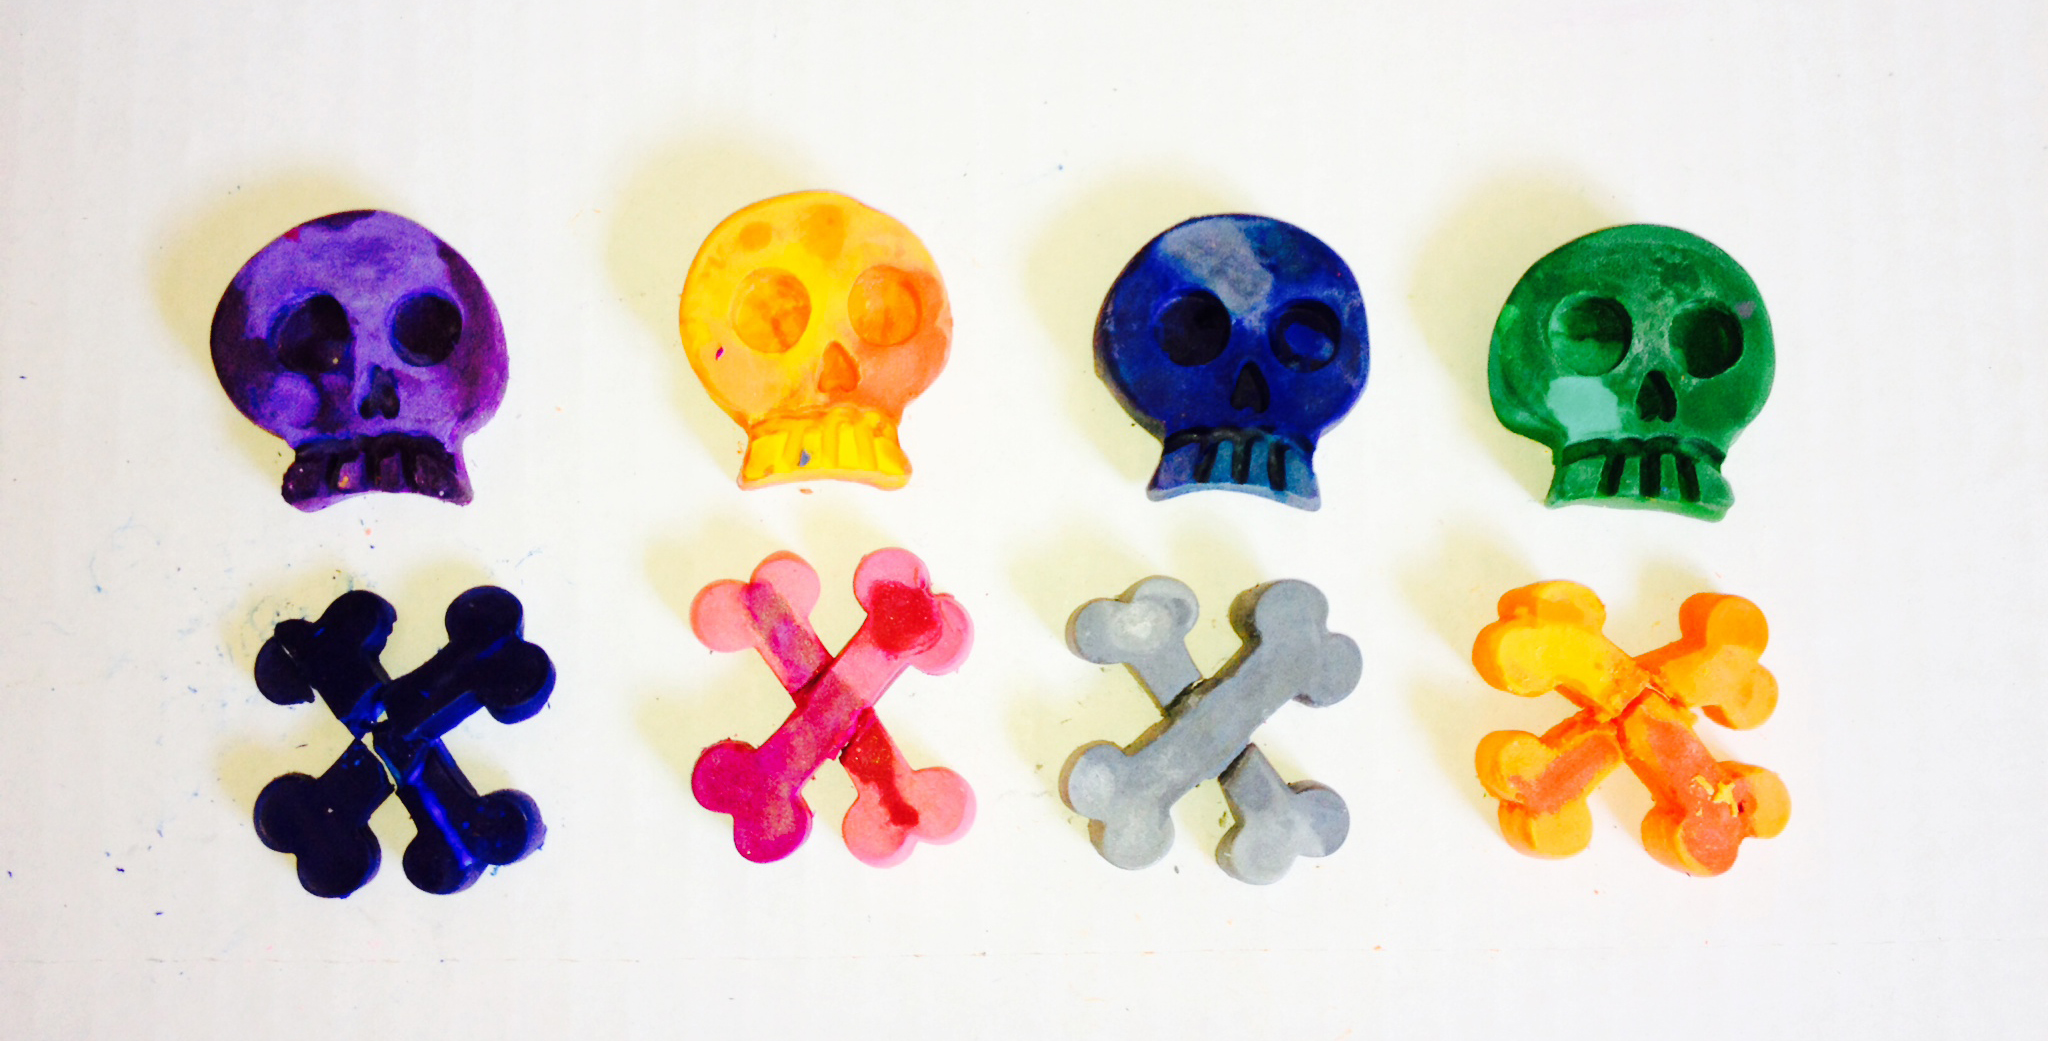
8. Enjoy your new crayons!

Leave a Reply